

I love halloween!
Halloween is so fun. I love admiring at all the creative costume and the kid’s love of the holiday is infectious.😀
This year I participated in Houston Magazine Fun Festival 2019. I knew I wanted something fun for my booth that kids would love…so I ended up on Pinterest. I found a monster that was created for a carnival. Kids had to reach into the monster’s nose to get candy. I knew that this was it! Kids love boogers and farts.
The online post had no instructions so I came up with my own version. Here are the instructions if you’d like to recreate it. I guarantee you that it will be a big success!
Shopping List
- A large wood board ( you can decide what size you’d like.
- A set of wiggle eyes
- Spray insulation. I used 3 cans of this product
- Water based craft paint. I used several shades of green, yellow, gold, purple and red.
- 2 disposable cups. This will hold the space for the nostrils
- vaseline
- water
- Serrated knife
- Marker
- Saw to cut out the circles. I used something like this
- Sand paper
- glue gun
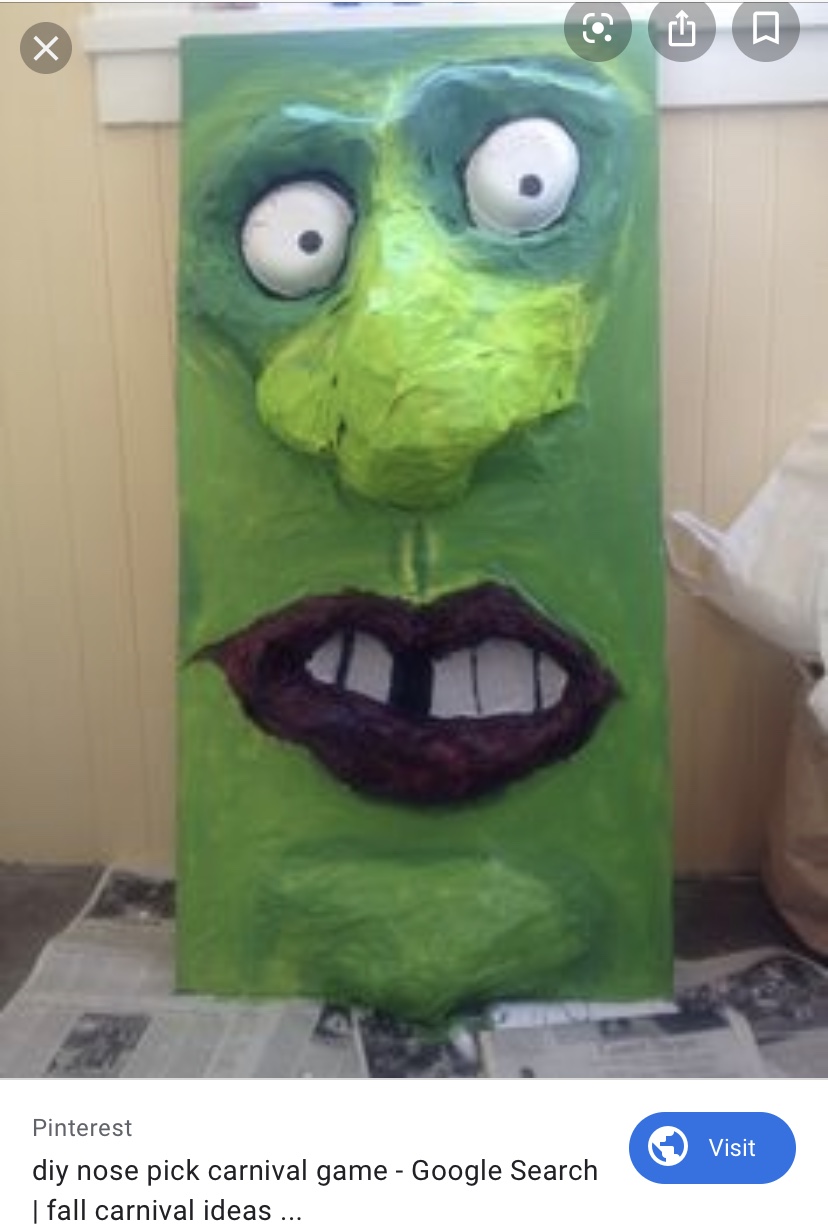
This was the picture I found online. It looked like they might have used paper and maybe plaster of paris. It was hard to tell but I think the spray foam had to be easier.
First, I used a marker to draw the image of the monster of the board. It was rough drawing, something to use as a guideline to spray the foam. I used the wiggle eyes to trace the area I needed to leave open for the eyes. I also traced two circle where the nostrils would be. I used the disposable cups as a guide to trace the circles.
Next, I cut out the two circles for nostrils. I used a hole saw. See shopping list for the item. I then sanded the holes to avoid wood splinters.
I read that the spray foam will stick to the wood better if it was slightly damp. I wiped the wood with a wet towel. The wood was not soaked, just slightly damp on the surface.
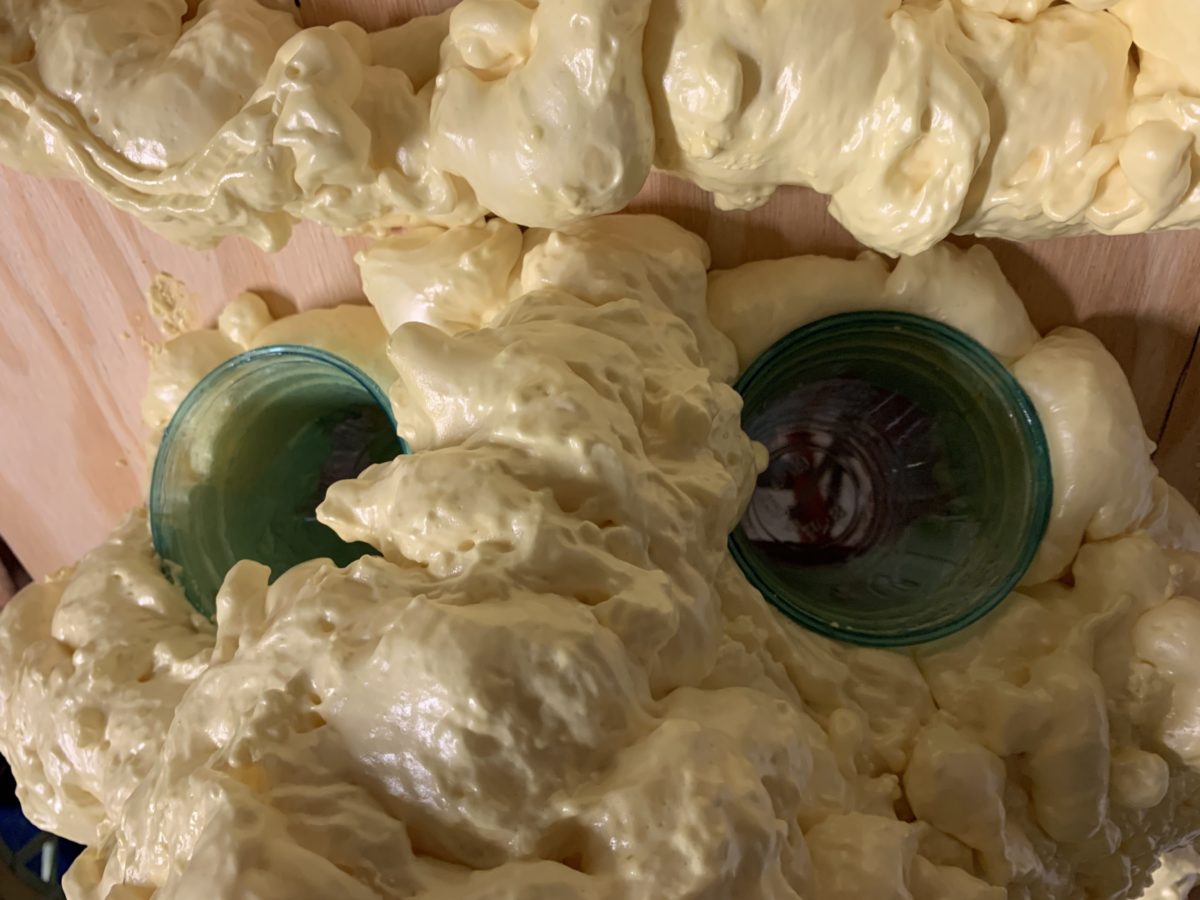
I coated the cups with vaseline (be generous) and positioned them in the nostril holes.
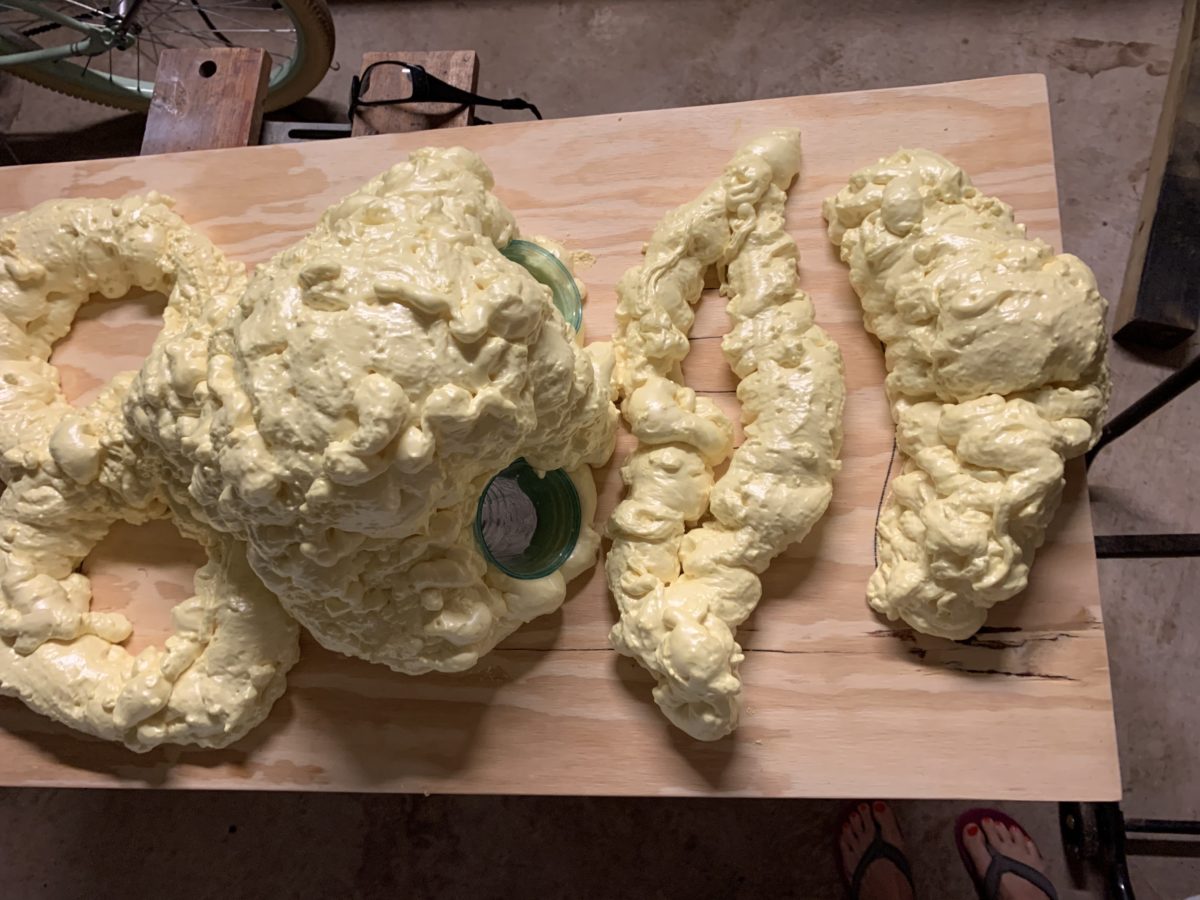
Then the fun began! I stated spraying the foam. Take your time because the foam will expand. I did this in layers and in stages. I used one can at a time. It doesn’t have to be perfect. You can later cut the foam with a knife to give it a better shape.
I chose to make the nose huge because I wanted it to be the main focus.
I let it dry over night.
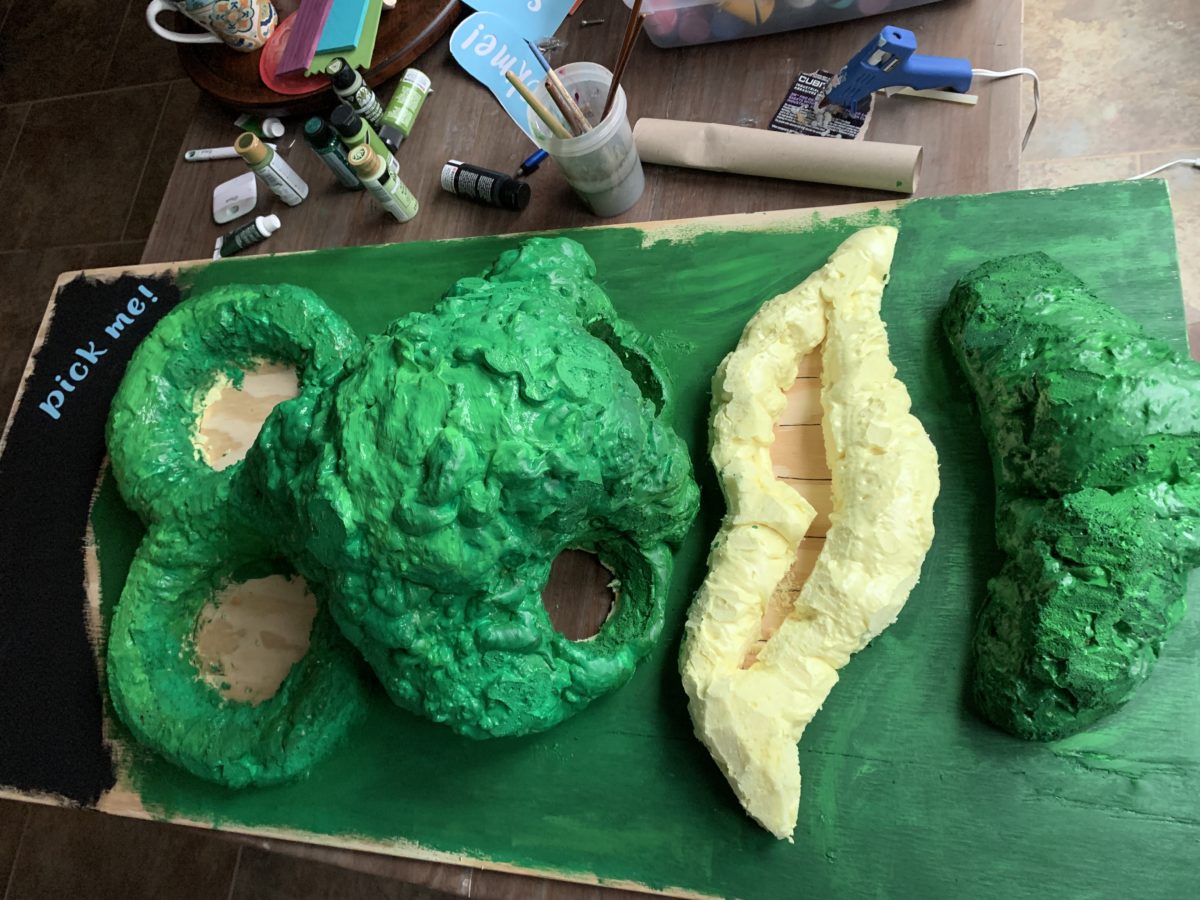
The next day, I took a serrated knife and started to shape the foam. It doesn’t have to be completely smooth. In fact I found that the pits make it a little more gross.
I cut around the area where the wiggle eyes would be glued. Make sure that the eye will lay in the space. I cut out the cups that were hold the nostrils open.
Once shaped, you can now start painting the monster. Be warned, the wood and the foam will soak up quite a bit of paint. I used at least 16oz of green paint. Paint the entire monster in the main color, then you can start adding darker and lighter colors on top to give it dimensions.
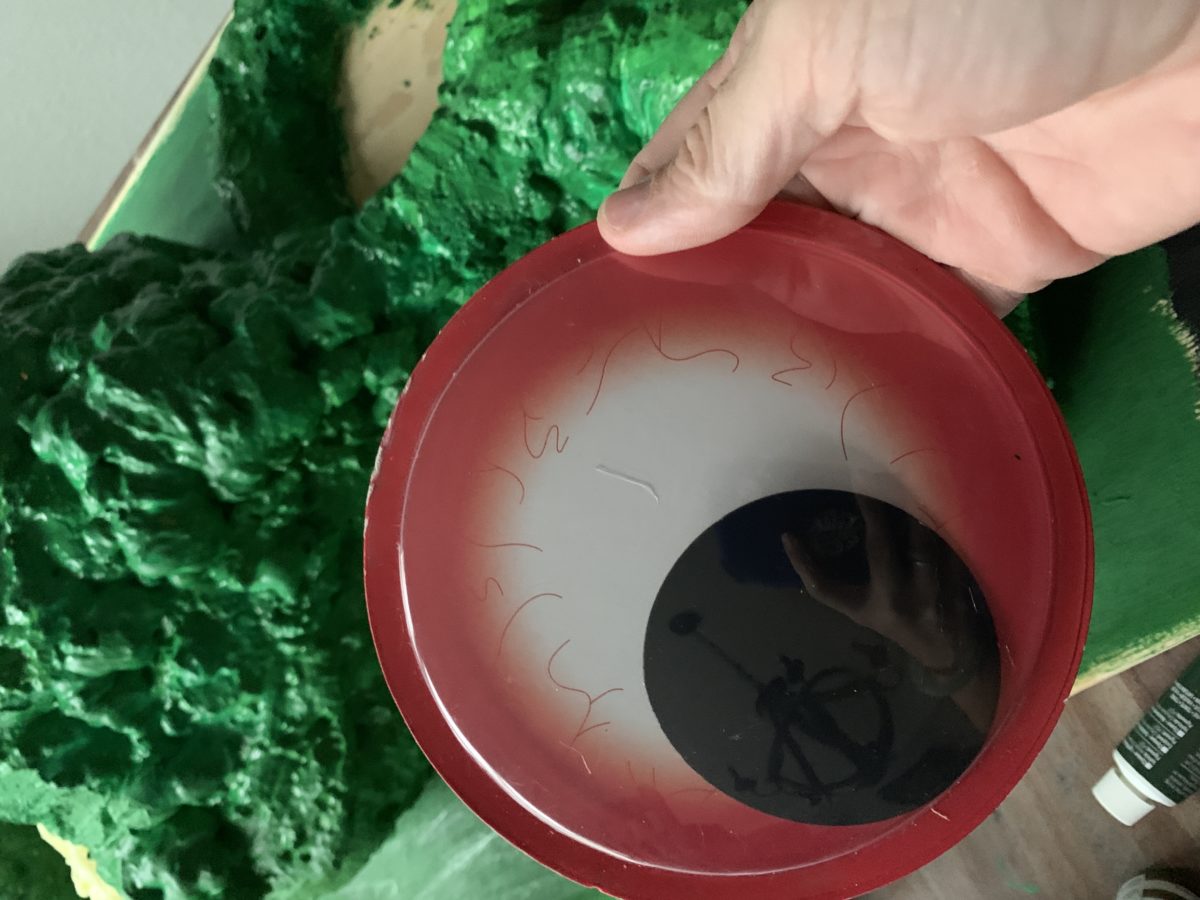
Once the paint is dry, you can glue the wiggle eyes in their place. I suppose that you can paint the eyes in instead of using wiggle eyes but I really liked the fact that the pupils moved.

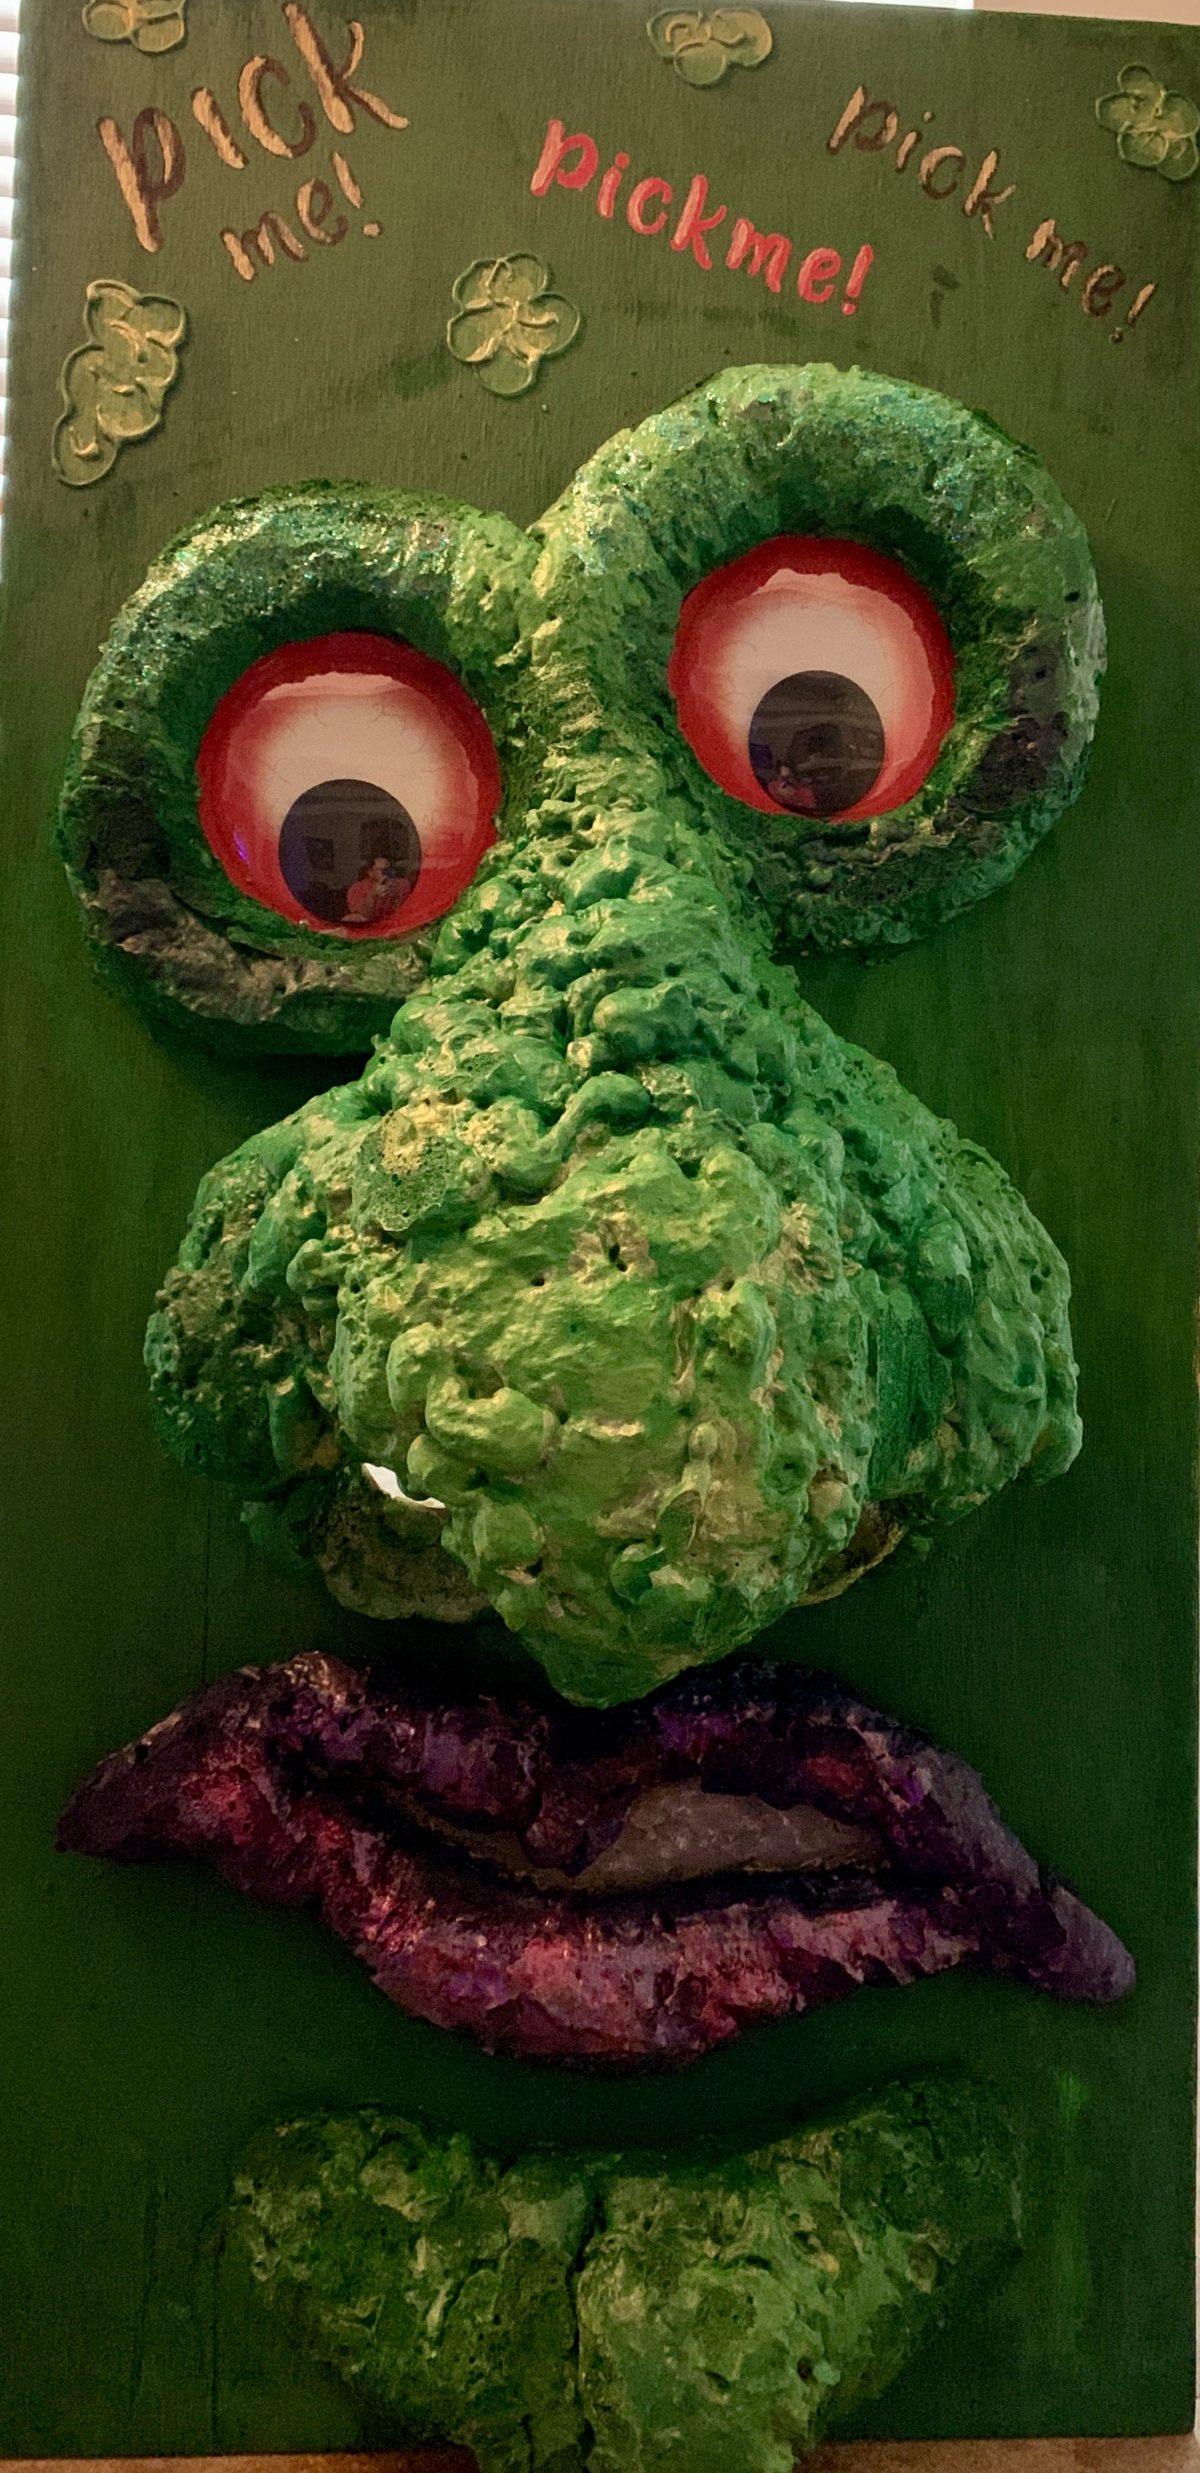
I added some text and a few “booger” images to add to the overall look.
The day of the event, the kids would reach into the nostrils and either get candy or they would stick their hand into slime (boogers). The look on kids faces when they reached into slime was priceless. 😂
I hope you enjoy this! If you have any questions let me know.